All Categories
Featured
Table of Contents
- – Bathroom Remodeling Contractor Near Me Brentwoo...
- – United Constructors Inc.
- – Bathroom Remodeling Contractor Near Me Brentwo...
- – Best Bathroom Remodelers Near Me Brentwood, CA
- – Remodeled Bathrooms Brentwood, CA
- – Bathroom Remodeler Near Me Brentwood, CA
- – Bathroom Remodeling Near Me Brentwood, CA
- – Remodeling Bathroom Brentwood, CA
- – Bathroom Remodel Service Brentwood, CA
- – Bathroom Remodels Near Me Brentwood, CA
- – Bathroom Remodelers Close To Me Brentwood, CA
- – Bathroom Remodeling Services Brentwood, CA
- – Bathroom Remodelling Brentwood, CA
- – United Constructors Inc.
Bathroom Remodeling Contractor Near Me Brentwood, CA
, it was a huge wow! Our home was constructed in 2000 so it still had the design from the 1990's.
We prefer to bath so having a bathtub was one more dispute. After browsing and recognizing I would need to spend upwards of $3000 for two vanities of any kind of high quality, the decision was made to provide our present one's a makeover.
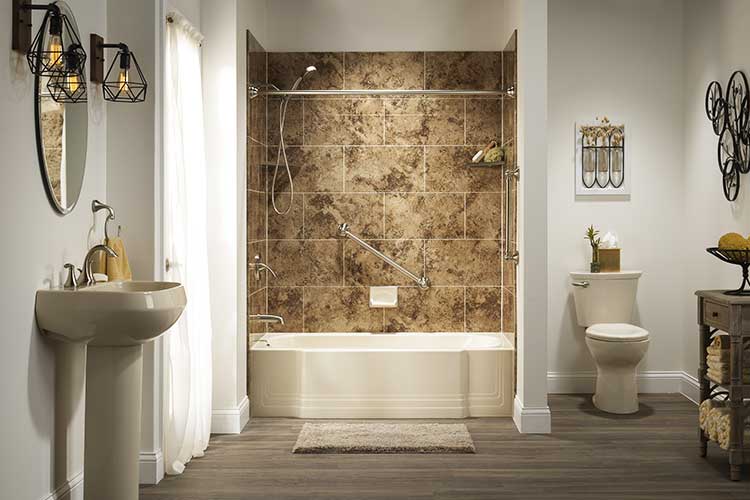
Using ageless and classic surfaces in an upgraded way functions best for our home. As a DIY couple we can come up with ideas as we go.
Bathroom Remodeling Contractor Near Me Brentwood, CA
I've always felt drawn in two instructions up until I understood it doesn't need to be so hard. Modern traditional interior decoration style embodies just how I like our home to feel and look. Mixing old and brand-new in an easy, very little way is precisely just how what I enjoy. Once I take a mental note of this I can relocate onward in a room.
Creating the ceramic tile combination for the shower went from there. It was important to me, as it ought to be, those floor tile color tones matched up with the carpet.
This will certainly ensure the flow of your home really feels uncomplicated. For the shower, I didn't want an item niche, I wanted the ledge. It felt actually timeless and timeless to me. The design of the shave rack was a means to add the tiny particular niche detail. Once we eliminated the shower insert and the adjacent wall, we had the ability to broaden the shower to a 4 x 4 foot space.
Best Bathroom Remodelers Near Me Brentwood, CA
The vanity and kitchen counters were still in great form yet required more detail. The paint color and wall surface information gave them the wow variable I was wishing. It was Ray's creative concept to utilize a shelf brace for the front information. Rather of building his very own furniture appearance pieces, he purchased the brackets and reduced them down to size.
The ordinary price for a main shower room remodel provided on This Old Residence website is $10,000-$30,000. I believe with all of the work we performed in ours it would have gone to the $30,000 array if not even more. We conserved cash by doing all of the work ourselves. Free standing tub $850 Tub components $756 Pocket Door $550 Shower Fixtures (Brizo Necessary Collection) $1198 Flooring and Style (floor tile and tiling supplies) $1800 Glass door set up (the only thing we couldn't DIY) $1680 Paint and primer $350 Paint sprayer (talented) Professionals direct (Schluter system, water proofing, heated electrical flooring, thermostat) $1400 Ceiling timber from Floor and Style $800 Products (grain board, wood, devices, pipes $1924 Producing a restroom that was roomy, day spa like yet still fit within our modern-day conventional home style was the goal.
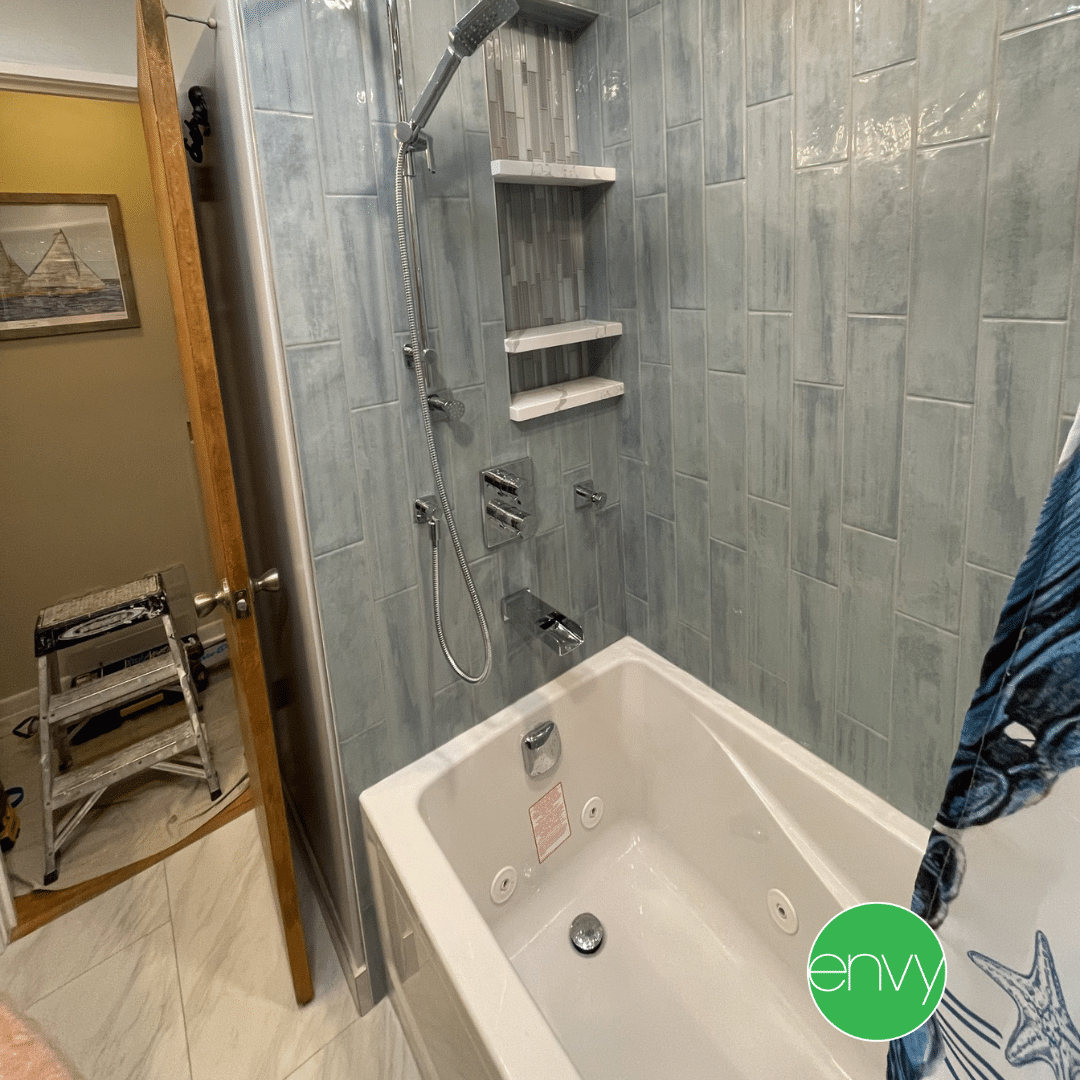
The listed below image is me standing in the shower to provide you an excellent sight of just how it looks from there. We actually do not like to set up floor tile, mainly on the flooring and we plan to never ever do it once more. Simply possibly, we may pay someone following time for that part.
Remodeled Bathrooms Brentwood, CA
We do live in a neighborhood so leaving it appeared all-natural. Anticipating warm floors come winter months time. Once day we will replace the sink tap to match the remainder of the remainder of the Brizo line. That would need new countertops also and I simply don't assume it's worth it today.
Washroom improvements are a popular home improvement task that can make your shower room more comfy, practical, and cosmetically pleasing. A fresh layer of paint is the quickest and most budget friendly method to change your washroom, offering an immediate refresh without significant improvement costs.
Bathroom Remodeler Near Me Brentwood, CA
Select a semi-gloss paint to boost mildew and mold resistance. Semi-gloss is also easier to clean. Maintain your washroom's layout in mind when picking a color plan. You can not fail with neutral tones if you want something timeless. Think about the lighting prior to opting for dark or bold shades. You can examine the paint on a tiny section of wall prior to committing.
Hang a spider plant, philodendron, pothos, or brush on the shower's far side, ensuring they don't accumulate as well much water. Your focal factor might be behind the bathtub, on the back wall surface, or over the vanity. An accent wall surface in a little restroom could make the space really feel also smaller and extra disjointed, but you can still add visual passion by opting for an accent ceiling.
Include upright cabinets beside the vanity to keep your towels if you have the extra area, or utilize upright space to make use of drifting shelves. You can include an over-the-toilet storage shelf or open shelving beneath the sink as an efficient storage space alternative. After years of usage, your bathroom's pipes fixtures might begin to experience countless issues.
Bathroom Remodeling Near Me Brentwood, CA
These are a few of one of the most costly bathroom remodellings, however it's a wise financial investment if your home's systems are old, out-of-date, or not working properly. This can aid prevent future problems and boost your home's power effectiveness. Luxury Bathroom Remodel Brentwood. Home owners can complete improvements by themselves relying on their abilities, experience, and the job's range and complexity
Easy tasks such as paint, setting up fixtures, or updating cupboard hardware are within a lot of home owners' abilities. Pipes and electrical work, or those that need knowledgeable carpentry, are best delegated pros. Not just do experts have the essential devices, however they additionally have the expertise to complete these jobs securely and properly.
Remodeling Bathroom Brentwood, CA
When in question, go for a neutral color scheme. This will ensure your shower room remains classic. Developers say that tones of blue, light green, and warmer neutral tones are the finest restroom colors for 2024.
The project transforms into a full-blown restroom restoration that every person is excited regarding and you need to finish. Lucky for you, I have actually obtained every stage of the remodel covered, with a lot of pointers to maintain you within spending plan and on time. Disclosure: This message contains some affiliate web links or reference web links for your benefit.
Prior to you can change any area, you require to demo the space or remove all undesirable items. The very first thing I did was to dig out all the silicone around the bath tub, trim, baseboards, and anywhere else it was located.
Bathroom Remodel Service Brentwood, CA
Next off, I disconnected the drain from the sink and placed a cloth in the opening up to avoid any scents from appearing. After detaching everything, we dismantled them from the rooms (the old sink, bathroom, trim, baseboard, shelves, and so on). After that, we were prepared to demo the ceramic tile. We utilized our useful Rotary Hammer drill to get rid of the tiles from the flooring.
Don't ask exactly how I understand this We found some repair services that the previous owners had finished with the last bathroom restoration, which were not the best. To remedy them, we had to remove areas around the bath tub. And after the demonstration, we were left with this: At this moment, we were entrusted to really harmed wall surfaces.
I set up a thin layer (1/4) of a subfloor sheet on top of the old subfloor to offer us a smooth, level surface. We were also able to lastly open our new home window to the room. SIDE KEEP IN MIND: There were 2 home windows, the old steel one and after that the brand-new plastic one.
There was one on the outdoors and one on the within to give you a double-pane window. I did this by spraying tub cleaner onto the area and permitting it to establish for a couple of mins.
Bathroom Remodels Near Me Brentwood, CA
After, I covered the holes in the walls with drywall and repaired the harmed plaster wall surfaces. SIDE NOTE: You can see the complete in this message. The process coincides if you are covering and fixing drywall too! I likewise had the chance to upgrade the illumination in the bathroom, which was my spouse's demand with the bathroom remodelling.
This, I keyed and repainted the bathroom. Whenever you tile a floor, you require to install an underlayment.
When the ceramic tiles had healed for 24 hours, I moved on to installing the grout. After setting up the waterproof membrane on the flooring, I set up the shower wall waterproofer.
If you're asking yourself just how to install this waterproofer, click this link to see exactly how to water resistant bathtub shower walls over drywall. After the waterproofing membrane had actually cured for 24 hours, I carried on to tiling the shower wall surfaces. And here are all my ideas for tiling a tub surround. Lastly, I completed off the bath tub tile job by grouting the shower tiles, which includes securing the tiles and installing silicone.
Bathroom Remodelers Close To Me Brentwood, CA
You can see the full procedure by clicking the link. At this point, the washroom was all set for the attractive items.
About $1,000 of that was for the flooring and wall surface ceramic tiles. And we reused our bathtub, tub faucet (which was just a year old), commode, and vanity mirror.
As soon as the floor tiles had actually cured for 24-hour, I went on to installing the cement. Funny sufficient, I locate grouting to be really relaxing. Click the web link to discover the full tutorial on just how to grout flooring tiles. After installing the water resistant membrane on the flooring, I installed the shower wall surface waterproofer.
After the waterproofing membrane had actually treated for 24 hours, I relocated on to tiling the shower wall surfaces., which consists of securing the ceramic tiles and setting up silicone.
Bathroom Remodeling Services Brentwood, CA
You can see the complete procedure by clicking the web link. At this moment, the bathroom awaited the attractive pieces. This included mounting floating shelves (I have a tutorial on setting up drifting racks over ceramic tile). We additionally bought a little sink from Ikea as a result of how small of room we had.
I mounted all brand-new trim and baseboards, and included simple towel hooks. This entire restoration expense regarding $2,000. Regarding $1,000 of that was for the flooring and wall surface floor tiles. And we reused our bath tub, bathtub faucet (which was just a years of age), bathroom, and vanity mirror. The total improvement took us a two months to finish but the final appearance is contemporary, clean, light and ventilated.
Once the tiles had treated for 24 hours, I relocated on to installing the cement. After setting up the water-proof membrane on the floor, I installed the shower wall surface waterproofer.
Bathroom Remodelling Brentwood, CA
After the waterproofing membrane layer had healed for 24 hours, I relocated on to tiling the shower walls., which includes sealing the floor tiles and setting up silicone.
You can see the full process by clicking the web link - Luxury Bathroom Remodel Brentwood. At this factor, the shower room was all set for the ornamental pieces.
United Constructors Inc.
Address: 1251 Stone Valley Rd Alamo, CA 94507Phone: (925) 234-9023
Email: cash@builduci.com
United Constructors Inc.
About $1,000 of that was for the flooring and wall surface ceramic tiles. And we recycled our tub, tub faucet (which was only a year old), bathroom, and vanity mirror.
Contractors For Bathroom Remodel Brentwood, CABathroom Remodelers Contractors Near Me Brentwood, CA
Bathroom Remodelers Near Me Brentwood, CA
Bathroom Remodelling Brentwood, CA
Bathroom Remodeling Contractor Near Me Brentwood, CA
Bathroom Remodeling Company Brentwood, CA
Bathroom Remodeling Services Brentwood, CA
Contractor For Bathroom Remodel Brentwood, CA
Bathroom Remodeling Services Brentwood, CA
Bathroom And Remodeling Brentwood, CA
Bathroom Remodeling Near Me Brentwood, CA
Bathroom Remodel Companies Near Me Brentwood, CA
Contractors For Bathroom Remodel Brentwood, CA
Contractor For Bathroom Remodel Brentwood, CA
Bathroom Remodelers Contractors Near Me Brentwood, CA
Bathroom And Remodeling Brentwood, CA
Bathroom Remodel Companies Near Me Brentwood, CA
Remodeling Bathroom Contractors Brentwood, CA
Bathroom Remodel Contractors Near Me Brentwood, CA
Bathroom Remodeler Near Me Brentwood, CA
Bathroom Shower Remodel Brentwood, CA
Bathroom Remodelling Brentwood, CA
Bathroom Shower Remodel Brentwood, CA
Bathroom Remodeling Near Me Brentwood, CA
Remodeled Bathrooms Brentwood, CA
Remodeling Bathroom Brentwood, CA
Bathroom Remodeling Contractor Near Me Brentwood, CA
Bathroom Tub Remodel Brentwood, CA
Find Seo Marketing Brentwood, CA
Near Seo Agencies Brentwood, CA
Luxury Bathroom Remodel Brentwood, CA
United Constructors Inc.
Table of Contents
- – Bathroom Remodeling Contractor Near Me Brentwoo...
- – United Constructors Inc.
- – Bathroom Remodeling Contractor Near Me Brentwo...
- – Best Bathroom Remodelers Near Me Brentwood, CA
- – Remodeled Bathrooms Brentwood, CA
- – Bathroom Remodeler Near Me Brentwood, CA
- – Bathroom Remodeling Near Me Brentwood, CA
- – Remodeling Bathroom Brentwood, CA
- – Bathroom Remodel Service Brentwood, CA
- – Bathroom Remodels Near Me Brentwood, CA
- – Bathroom Remodelers Close To Me Brentwood, CA
- – Bathroom Remodeling Services Brentwood, CA
- – Bathroom Remodelling Brentwood, CA
- – United Constructors Inc.
Latest Posts
Orange Trailer Awning Replacement
Irvine Van Repair Shops Near Me
Santa Ana Motorhome Air Conditioner Repair
More
Latest Posts
Orange Trailer Awning Replacement
Irvine Van Repair Shops Near Me
Santa Ana Motorhome Air Conditioner Repair